Monday, January 26, 2015

Peach Cobbler

This post is dedicated to my mother-in-law.  She is a great cook and has been all over the world.  She has given me many recipes and ideas, but this recipe is one of my favorites.
You can tell I've made the recipe quite a few times! This is one of the easiest and
most delicious recipes for  
Peach Cobbler I have ever made.   


Put 4 tb. of butter in a 9 x 13 pan in the oven to melt while the oven heats to 350 degrees.   This saves doing extra dishes not having to melt the butter in the microwave. 


You will need 2 large cans or 4 small cans of drained, sliced peaches.  I have used many different brands, in juice or heavy syrup, but as long as you drain them well, they all are about the same.


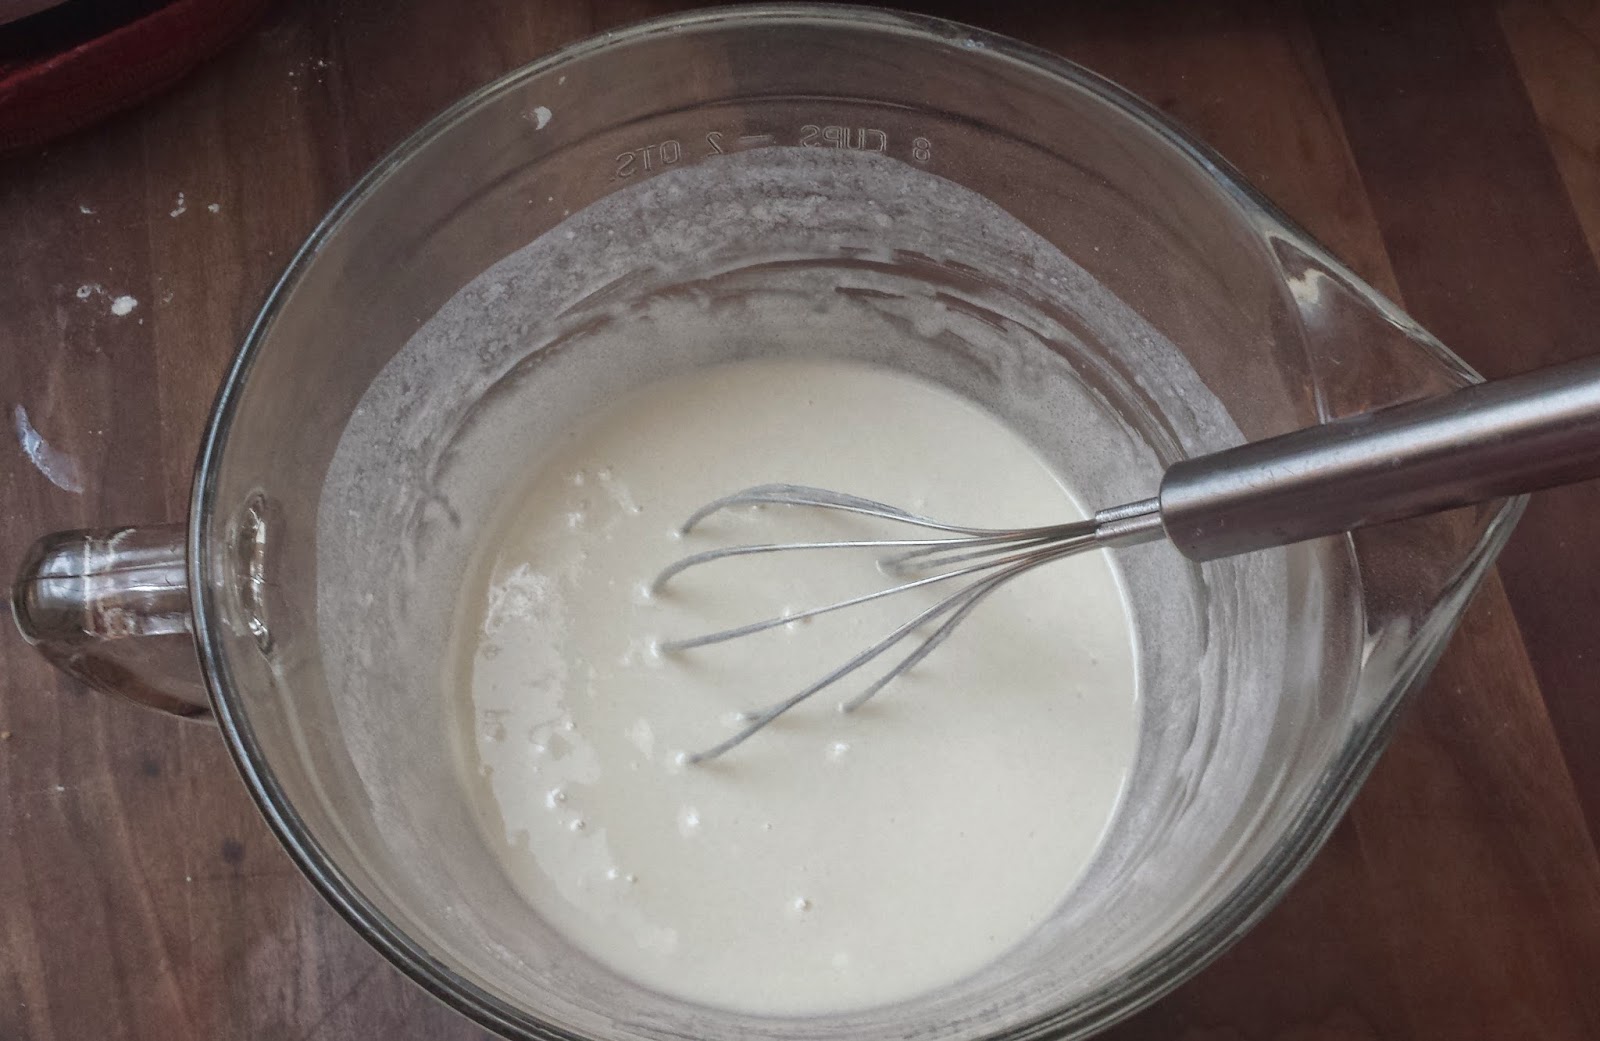
Next, stir together 1 cup flour, 
2 teaspoons of baking powder, and 1 cup of sugar in a small mixing bowl.  Then, add 3/4 cup of milk and mix until well blended.


Check to see if the butter is melted and remove the pan from the oven.  Gently pour the peaches over the melted butter.


Then, pour the batter over the peaches.  It will be very thick. To give the top a little more crunch, I usually sprinkle some more sugar and some cinnamon before I put it in the oven.


Bake it for 45-50 min.  When the cobbler is finished, it will be slightly browned, and the batter should be cooked all the way through.  Serve it warm with ice cream or whipped topping.  Yum!  
.
Peach Cobbler
4 tb.margarine or butter (I use butter)
 2 large cans, drained, sliced peaches or 4 small cans
1 cup flour
2 tsp. baking powder
1 cup sugar
3/4 cup milk

Preheat oven to 350.  Melt 4 tb. butter in 9 x 13 pan in oven.  Place 2 cans drained, sliced peaches on top of melted butter.  Mix together flour, baking powder and sugar.  Then add 3/4 c. milk and stir until smooth.  Pour mixture over the peaches .  Sprinkle cinnamon and sugar on top if desired.  Bake 45-50 minutes until batter is cooked through, and top is slightly browned. 


Monday, January 19, 2015

Quick and Easy Mini Peanut Butter Cup Brownies


After Christmas, this year we bought some candy on sale for 75% off.  The kids and I used them to make a quick and easy dessert:
Mini Peanut Butter Cup Brownies.  


The kids unwrapped 24 candies (it was hard not to eat them!)   We set them aside for later, as they are needed as soon as the brownies come out of the oven.  This took the longest, so we needed them unwrapped before the brownies came out of the oven.


Betty Crocker brownie mix was what I had on hand, but any box of brownies will work. My 9 year old made up the mix according to the directions on the back.


The mini cupcake pan makes a lot at a time and works nicely for the mini peanut butter cups.


It took about 1 1/2 tablespoons of brownie mix to fill each cupcake paper about halfway.  The kids helped a little, but it is tedious, so most of the work was done by me.  Two regular teaspoons worked well to get the batter into the papers.


About 13-15 minutes was how long it took to bake them.  When they were set up in the middle, they were done.


Immediately, the kids and I put the unwrapped peanut butter cups in the middle of each one and pressed them down.   The pan was hot, so the kids had to work carefully.  I let them cool a little before removing the brownies from the pan with my mini spatula.


There was enough batter left over to make another batch of 24 and then some!  They were delicious, kid friendly and fast!

I have also made these with different flavors of Hershey's kisses, and they worked great as well.


Saturday, January 17, 2015

"Leftover" Chicken Soup and Biscuits

Leftover night is always an adventure.  I think about what I have left in the refrigerator and what I can use to make a meal.  I had saved the chicken broth from cooking the chicken the day before.


With the options I had, I decided to make homemade chicken soup.


First, because the broth sat overnight in the refrigerator, all the fat had risen to the top.  To make it a little healthier, I scraped the fat off the top of the broth.


 I put the broth in a large pot on the stove.  


To make it easier to take the chicken off the bone, I heated it just a little bit in the microwave to take the chill off.  Then, as I took the chicken off the bone, I broke it up with my hands as I dropped it into the broth.  This is what takes the longest in making the soup.  Even though there were a few pieces of barbecue chicken mixed in with the plain chicken, I added them in also.  It just added a little extra flavor.    


I know that you can thicken soup with instant mashed potatoes, however I've never tried to use regular mashed potatoes.  Well, I decided to try it.  I had about a cup leftover from a few days ago, and it worked nicely to thicken the soup!


After the chicken and potatoes, I added some frozen peas, a few mixed veggies, some rice and some green beans (from a can) and to give some more flavor, I added a can of cream of chicken soup.  I also chopped up some carrots and cooked them in the microwave and was going to add them to my soup, but I forgot them in the microwave and didn't discover them until the next day!  Oh well! 


Finally, I let the soup simmer on the stove while I finished the remainder of my meal.  I think the whole process took 20-25 minutes with the majority of the time used to take the chicken off the bone. 


However, since I am cooking for five children who really aren't crazy about chicken and vegetable soup, I always like to add something extra to serve with the soup like crackers or biscuits.  This time I made some homemade biscuits.  The recipe I used is from the Better Homes and Gardens Cookbook, the basic cookbook I got when I first got married.  It is my "go to" cookbook which has all kinds of basic recipes.


Instead of rolling out the biscuits, I baked them in a 9 x 9 pan; I have done this before with success.  It saves a lot of time!  However, I have never used my food processor to mix the dough.  I decided to give it a try. 

Here is the simple biscuit recipe I used:  


First, I put all the dry ingredients in the food processor.  Then, I added 1/2 cup of butter, cut up into approx. 1 tablespoon slices.    


Then, I attached the lid, turned on the food processor  and gradually poured the 2/3 c. milk through the hole in the top.  I stopped when the dough balled up on the side of the container.  It only took a minute or so.  It went really fast and much easier than doing it by hand!


Next, I sprayed my pan with cooking spray and using just a little bit of flour, I spread the dough in the pan with my hands.  I try not to handle it too much. I've heard that kneading the dough too much results in tough biscuits.


I baked it for about 12-14 minutes.  It took just a little longer than what is called for in the recipe because it is in a pan and not individual biscuits. When it turned a light brown, I knew they were done.  I cut them and served them right from the pan.  They were moist and delicious!  


Kids (and hubby) loved the soup and biscuits. Leftover night was a success!


Saturday, January 10, 2015

Planning Ahead

My goal in feeding my family is not to serve the exact same meal twice in a row and to think ahead to the meals for the next few days.  What can I cook today that I can use tomorrow?  Whenever I cook a meal with meat as a main ingredient, I like to cook a little extra to use it a second night in a different way.

One day this week, I  baked some chicken legs and thighs in the oven,  First, I cooked them all together in one large roasting pan and seasoned them with my favorite seasonings:  Lawry's salt, garlic powder and basil.


At the same time, I washed some sweet potatoes, sprayed a roasting pan with Pam and put them in the oven to bake.  I did not do anything except put them in the pan.  We will come back to those another time.


After I cooked the chicken almost all the way through, I removed all the skin with my tongs and separated the legs and thighs into two pans.  I put some of both kinds of chicken in each pan, spread barbecue sauce on the chicken in one pan and put it back in the oven.  The other pan I just covered and continued cooking.   We ate the barbecue chicken for dinner that night, and I put the remainder of the chicken in the refrigerator for a meal the next day.  I also poured the chicken drippings into a glass measuring cup for another meal as well.

For the rest of this meal, I made some potstickers that I had in the freezer.  I basically followed the directions on the bag and served them with the barbecue chicken.  I only took a picture of the bag not the cooking process.  Here is what we had.  They were enjoyed by all! 


Stay tuned!  In my next blog, I will tell what I did with the leftover chicken.  


Tuesday, January 6, 2015

Easy Chicken Enchiladas

One response that I had from a friend when I published my first entry was:  "What do I serve for dinner with larger crowds?"  Well, since I cook for 7 (or more) at every meal (an almost 12 year old, twin 9 year olds, one picky 6 year old and a 3 year old who eats almost anything, plus my husband & I), we have to serve "larger" dinners every night!  

So, that lead me to my decision to share my dinners with you.  I can't promise that I will be able to post every day -- who has that kind of time?!  I will try to do it at least once a week, depending on my schedule.  I am an English teacher by day, chef and mom by night. =)  (With this blog I should get great practice in both writing and editing my work!)  I think it will also help me remember what meals I served and how they were prepared.  So... this is for me as well as anyone else who wants to come along for the ride.  The first recipe is not my mom's recipe, maybe someday I will make hers and share it.  This time I decided to make up my own simple recipe for:

Chicken Enchiladas

This past weekend I bought fresh chicken breasts and, rather than just putting them in the freezer to use later, I cooked them several different ways to prepare for multiple meals.  Some I cut in half, dipped in Italian bread crumbs and baked.  Another way I cooked the chicken was to cut it up in small pieces, fry it on the stove with some curry powder, and then add it to some noodles I'd already prepared.

The rest of the chicken (3-4 breasts) I  cut up in smaller pieces, put in the crockpot on high, cooked with a can of cream of chicken soup and sprinkled in some taco seasoning.  In 3-4 hours, the chicken was cooked through; all I had to do was shred it a little with a fork, and it was ready to go.  I put it in the refrigerator to use later.

Tonight I decided to make my version of chicken enchiladas using this shredded chicken.  I should warn you:  it may not be the "official" recipe you are used to seeing.  I enjoy making up my own recipes, and it usually works out well.  I rarely make a recipe the same way every time, either; I like variety!

First, I sprayed a 9" x 13" pan with some Pam cooking spray, so the shells would not stick to the pan. Then, I heated up the chicken in the microwave, just to take the chill off.  Next, I warmed some flour tortilla shells in the microwave for a few seconds, so they would be easier to work with.  I happened to have the large ones (for burritos), but it really doesn't matter what size shells you use.  Then, I spread some chicken down the middle of each shell, topped the chicken with shredded cheddar cheese, rolled the shells up and placed them in the pan.  Then, I sprinkled more cheese on top of everything, put them in a 350ยบ oven and baked everything for about 20 minutes.  I happen to like the corn flavor better than the flour, and realized I also had some corn tortilla shells on hand; I did the same with those, but put them in a separate 9" x 9" pan.   Along with the enchiladas, I served black beans and rice, with lettuce and sour cream as toppings.  I was out of salsa and tomatoes, so we just "made do" without anything else tonight.  My husband and kids loved it, and even my picky eater asked for seconds.  Another successful evening in the kitchen... in under 40 minutes!


I hope this has been a help to you; please feel free to read, copy, experiment and comment!
♪♪♪♫♪

Sunday, January 4, 2015

Finally Blogging! My New Year's Resolution

This is my very first post on my very first blog.

I want to start out by saying I'm not a perfect mom, nor will I ever be a perfect mom.  I may not have the cleanest house, but I want my kids to remember that they always had good food to eat and most of the time I prepared it for them--from scratch.

I give credit to my mom:  When I was growing up, my mom always cooked all our meals from scratch and taught me how to cook and bake.  I never realized how much she did for us until I became a mom.  She also liked to entertain; we constantly had people over for dinner.  I learned a lot from her.  Now, I want to teach my children, just like I learned from my mom.   I like to cook and bake a variety of things so that's what I'd like to share with you.

My mom is in heaven now, but the legacy of her work in the kitchen lives on.

March 2012