Thursday, April 2, 2015

Pennsylvania Dutch Pot Pie Made Easy

When I was growing up, my mom would often make Chicken or Turkey Pot pie.  Not until I was grown, did I realize that there are different versions of pot pie!  In my husband's family, the same recipe was called chicken and dumplings.  Pot pie can also use an actual pie crust.  Whatever you call it, it is yummy!  In our home, pot pie was homemade squares of noodles boiled in either chicken or turkey soup with different vegetables. 

 This is a photo of my grandmother's recipe card for Pot pie Dough, as you can see it is well used!  

I love my grandmother's handwriting!
Last week when my dad was visiting from Pennsylvania, I wanted to make some recipes I knew he would like.   (This is my dad's mom's recipe for Pot pie.)
  
However, making the pot pie dough can get tedious, and I like to make things simple and easy.  
I decided to try using my food processor to make the pot pie squares of dough.   Here is the directions to making Pennsylvania Dutch Pot Pie the easy way:

 First, add 2 cups of flour, 1 tsp of salt and 3 tablespoons of butter to the food processor.


Then in a separate bowl, beat 2 eggs with a fork.


Turn on the food processor and pulse until butter and flour are blended.


Gradually, pour the eggs in the opening at the top while the processor is running.  


Then add about 2/3 cup of milk and keep the processor running until the dough forms a ball.


Take the ball of dough out and place it on a floured board.


Roll out the dough until it is about 1/4 inch thick.


I used my pizza cutter to make the squares.  You can make them as big or as small as you want.


I added the squares to a boiling turkey soup on the stove. 


As they finished cooking, they rose to the top.


It took about 15-20 minutes to cook.


The soup was very yummy, and everyone loved it!  Even my pickiest eater, asked for seconds! 


Here is the recipe again:

Ingredients:
2 cups of flour
3 tb. butter
1 tsp. salt
2 eggs
@ 2/3 c. milk
Mix butter and flour and salt in food processor.  Then add eggs and milk until dough forms a ball.  Roll out with flour and cut into squares.  Drop into boiling soup and cook 15-20 minutes until squares rise to the top. 

Saturday, March 21, 2015

Homemade pizza

Homemade pizza is a meal I make often for my family and guests.  When I was growing up, my mom used to make homemade pizza from scratch.  I've made it completely from scratch before, but ever since we got a bread machine many years ago, I've made my dough in a bread machine. 

Recently I was cleaning out the drawer where we store all the pizza pans.  I came across several pans that I haven't used for awhile and decided to try out the different pans to compare the crusts.

I have one pan with holes in the bottom that is supposed to make a crispy crust, a cooking stone which is supposed to be very good to cook on, and an air bake cookie sheet.


Here is my pizza dough recipe (got it from my brother-in-law Jeff years ago)

Add 1-1/3 cup of  hot water and 2 tb. of olive oil to the bread machine (I usually use regular oil),

Add 4 cups of flour to the water, oil mixture.  (The recipe calls for bread flour, however, it works just fine with regular flour too).   On top of the flour, add 2 teaspoons of salt, 2 tablespoons of sugar, then make a little "well" in the top and put 2 teaspoons of yeast in it.  The yeast is not supposed to touch the water until the mixing starts.

When the timer beeps, take out the dough immediately.  If you wait too long, the dough will rise and stick to the cover of the machine and makes a mess.  (I've done it!)  Both of our bread machines take an hour and thirty minutes to make the dough.


 When the timer goes off, it should look like this!  
If I'm in a hurry, I sometimes take out the dough early (after everything is mixed together), but the crust just isn't the same.


Normally I divide the dough into 2 balls and let them rise.  This time, I divided it into 3 sections.  


I sprayed my pizza pans and then let each ball of dough rise on the pan for about 20-25 minutes. If  I have the oven on, I put them on top of the stove with a towel draped over them.

I have a small roller that I dip in flour and then roll the dough right in the pan.  I stretch the dough a little with my hands first and then use my roller for the rest.  


I rolled out all three and then decided on toppings.  I use all kinds of toppings on my pizzas--usually whatever leftovers I have in the fridge.  This time, I made one bbq chicken pizza, one broccoli and chicken with (bacon-flavored!) alfredo sauce pizza, and one broccoli pizza with alfredo sauce.  
Other toppings I have used are ham and pineapple (one of our favorites), spinach, sausage, bacon, and many other things that I have found in the fridge.  The kids like almost anything on a pizza!


For the baking stone, I spread about 3-4 tablespoons of the cheese sauce on the dough, then I topped it with broccoli. Then I top with mozzarella cheese (lots of it!), and that 
one was finished.  Bake each pizza at 425 degrees for 15-17 minutes until cheese is slightly brown..


I made this one first because I've heard that the stone keeps the food warm for a long period of time.   I think it worked because it was still warm when we sat down to eat. 

The next pizza pan I used was the air-bake pan.  I spread bacon alfredo sauce on this one also and put broccoli and some cooked chicken on this one.  


Finally, I put barbeque sauce on the dough on the pan with holes in it.  Hoping for a crispy crust!


My 9 yr old decided she wanted to make a little pizza of her own on the side.


I added chicken next, then lots of cheese!


Now for the taste test!


Yum!  It worked very well!  All three pizzas turned out yummy, however, I liked this one the best!  The crust was slightly crispy and I think I will use this pan again next time! 

Sunday, February 15, 2015

Simple Sausage Gravy


When I have the time in the morning, I love to make breakfast for my family.  One dish I especially like is Sausage Gravy over biscuits.


 I use the pork sausage that comes in a roll; I'm not picky about which brand, usually whatever is on sale.  Fry the sausage in a pan until the meat is no longer pink.  Don't drain the grease from the pan.


To make the gravy, sprinkle flour all over the sausage and the grease.  I don't measure it, just add enough to cover everything.


Whisk the flour into the grease and sausage until the mixture is no longer "shiny" with grease.   


Add 2/3's to 3/4's cup of milk until the bottom of the pan is covered. 


Stir continuously until the mixture thickens; it will take a few minutes depending on how hot your pan is.  (I usually have it on medium to high heat.)   Take it off the heat when the gravy is thick and pour it over warm biscuits.  This recipe doesn't take much time to make and tastes so good!  Enjoy!


 I used canned biscuits this time, but here is the link to my biscuit recipe.

 http://cookingcountrymama.blogspot.com/2015/01/leftover-chicken-soup-and-biscuits.html


Sunday, February 8, 2015

Quick and Yummy 5 Minute Fruit Salad

One of our favorite desserts is a 5 minute fruit salad.  


Start by opening 2 cans of fruit cocktail (14 oz.)  Any brand or type of fruit will work.  I use the kind with 100% juice, since the fruit is not drained.  

Pour the cans of fruit (with the juice) into a medium-sized bowl.  Then, open 2 small boxes of instant pudding. I usually use either vanilla or banana pudding, or one of each.  

Sprinkle the pudding mix over the fruit, stirring in the pudding until it has dissolved.  It will be slightly thick.  

After it is thoroughly mixed, gently stir in 12 oz. of whipped topping. 
 At this point, you can serve it immediately, or you can refrigerate for 20-30 minutes or overnight.  

It is so yummy that my husband loves it, and my kids beg for seconds whenever I make it!  


This recipe also makes a great topping for cakes.  Substitute a can of crushed pineapple instead of the fruit cocktail and follow the same directions for the recipe.  Spread it on a yellow cake or angel food cake, and it is delicious!  


Monday, January 26, 2015

Peach Cobbler

This post is dedicated to my mother-in-law.  She is a great cook and has been all over the world.  She has given me many recipes and ideas, but this recipe is one of my favorites.
You can tell I've made the recipe quite a few times! This is one of the easiest and
most delicious recipes for  
Peach Cobbler I have ever made.   


Put 4 tb. of butter in a 9 x 13 pan in the oven to melt while the oven heats to 350 degrees.   This saves doing extra dishes not having to melt the butter in the microwave. 


You will need 2 large cans or 4 small cans of drained, sliced peaches.  I have used many different brands, in juice or heavy syrup, but as long as you drain them well, they all are about the same.


Next, stir together 1 cup flour, 
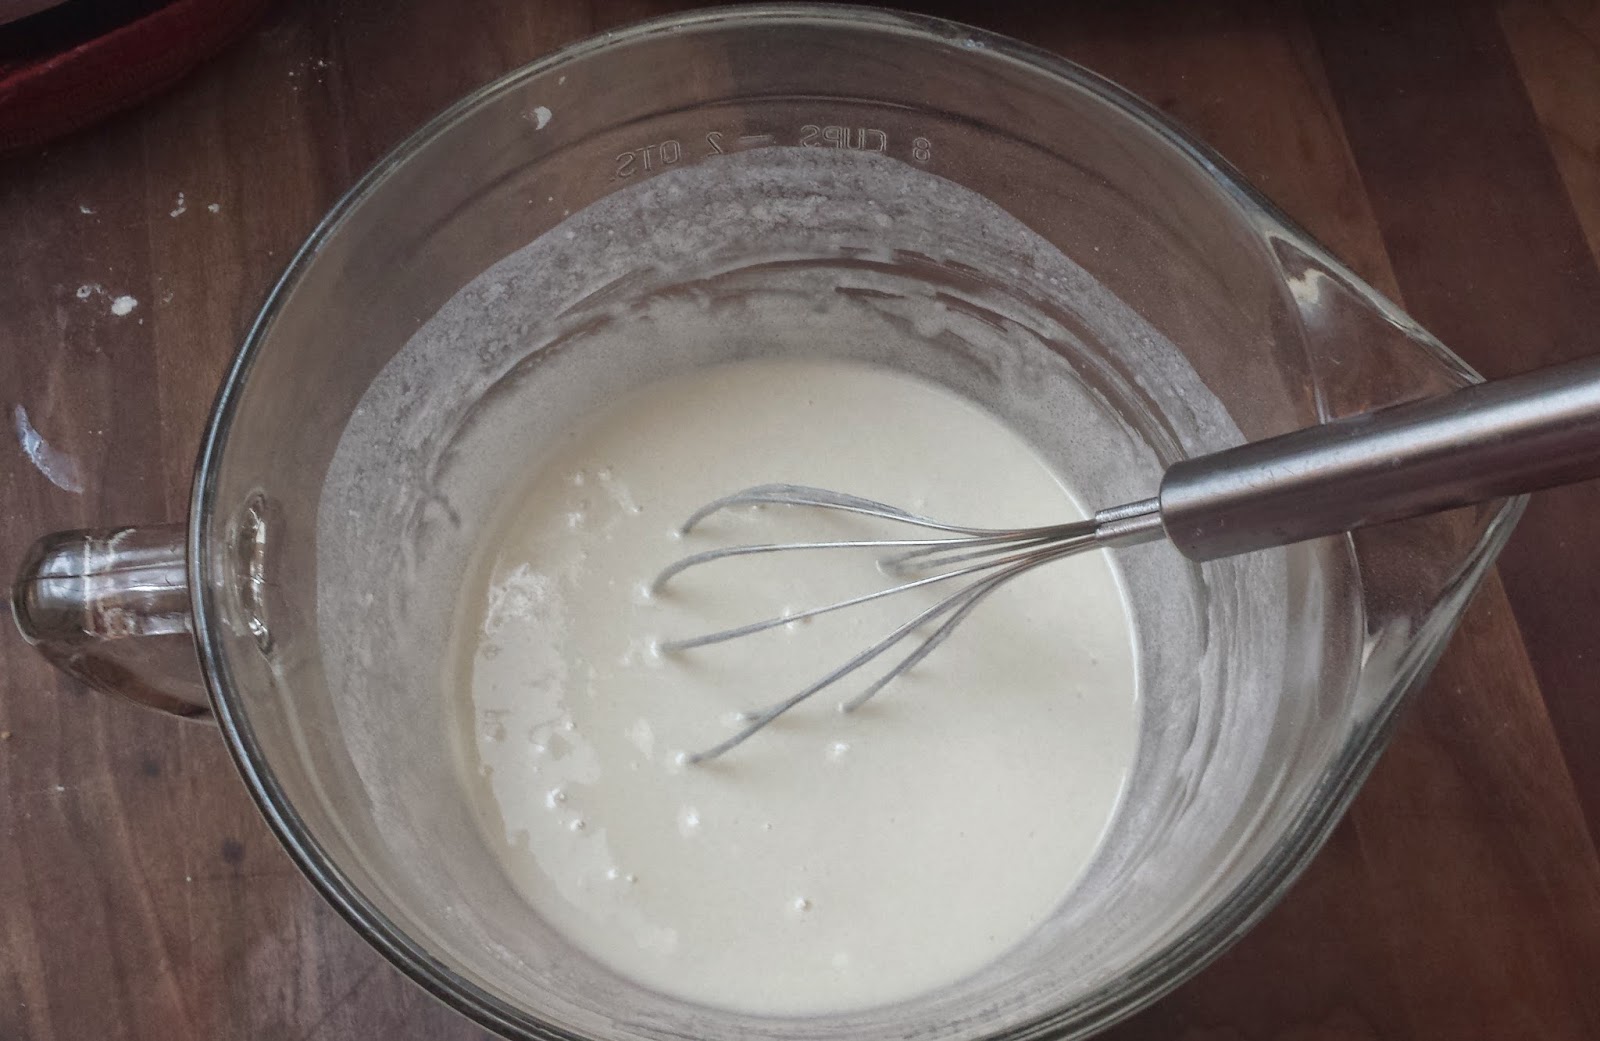
2 teaspoons of baking powder, and 1 cup of sugar in a small mixing bowl.  Then, add 3/4 cup of milk and mix until well blended.


Check to see if the butter is melted and remove the pan from the oven.  Gently pour the peaches over the melted butter.


Then, pour the batter over the peaches.  It will be very thick. To give the top a little more crunch, I usually sprinkle some more sugar and some cinnamon before I put it in the oven.


Bake it for 45-50 min.  When the cobbler is finished, it will be slightly browned, and the batter should be cooked all the way through.  Serve it warm with ice cream or whipped topping.  Yum!  
.
Peach Cobbler
4 tb.margarine or butter (I use butter)
 2 large cans, drained, sliced peaches or 4 small cans
1 cup flour
2 tsp. baking powder
1 cup sugar
3/4 cup milk

Preheat oven to 350.  Melt 4 tb. butter in 9 x 13 pan in oven.  Place 2 cans drained, sliced peaches on top of melted butter.  Mix together flour, baking powder and sugar.  Then add 3/4 c. milk and stir until smooth.  Pour mixture over the peaches .  Sprinkle cinnamon and sugar on top if desired.  Bake 45-50 minutes until batter is cooked through, and top is slightly browned. 


Monday, January 19, 2015

Quick and Easy Mini Peanut Butter Cup Brownies


After Christmas, this year we bought some candy on sale for 75% off.  The kids and I used them to make a quick and easy dessert:
Mini Peanut Butter Cup Brownies.  


The kids unwrapped 24 candies (it was hard not to eat them!)   We set them aside for later, as they are needed as soon as the brownies come out of the oven.  This took the longest, so we needed them unwrapped before the brownies came out of the oven.


Betty Crocker brownie mix was what I had on hand, but any box of brownies will work. My 9 year old made up the mix according to the directions on the back.


The mini cupcake pan makes a lot at a time and works nicely for the mini peanut butter cups.


It took about 1 1/2 tablespoons of brownie mix to fill each cupcake paper about halfway.  The kids helped a little, but it is tedious, so most of the work was done by me.  Two regular teaspoons worked well to get the batter into the papers.


About 13-15 minutes was how long it took to bake them.  When they were set up in the middle, they were done.


Immediately, the kids and I put the unwrapped peanut butter cups in the middle of each one and pressed them down.   The pan was hot, so the kids had to work carefully.  I let them cool a little before removing the brownies from the pan with my mini spatula.


There was enough batter left over to make another batch of 24 and then some!  They were delicious, kid friendly and fast!

I have also made these with different flavors of Hershey's kisses, and they worked great as well.